Campfire S’mores Cups to welcome summer!
Well, you can definitely use these campfire s’mores cups to welcome summer. Or fall. Or winter. Whatever you want!
These are so good, you won’t care what season it is!
I have a newfound love for s’mores. Gooey, melty, soft combinations of chocolate, marshmallow and graham crackers.
I can’t get enough! I love it in classic s’mores form, cheesecake, ice cream, whatever you’ve got!
But I wanted new recipes, so I’ve been going crazy on Pinterest looking up different ways of making it and I came across a huge s’mores cup.
I knew I needed to give this a spin of my own and make it just right.
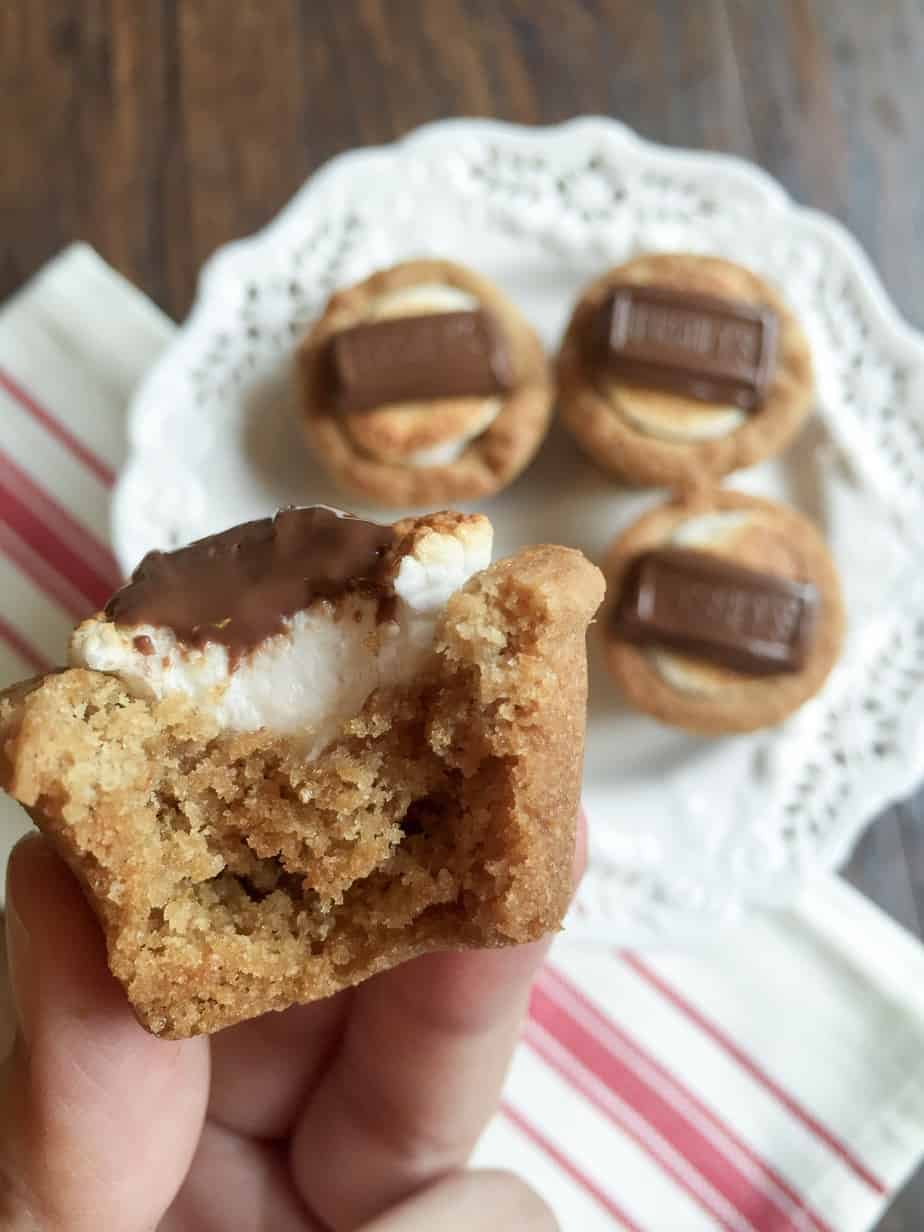
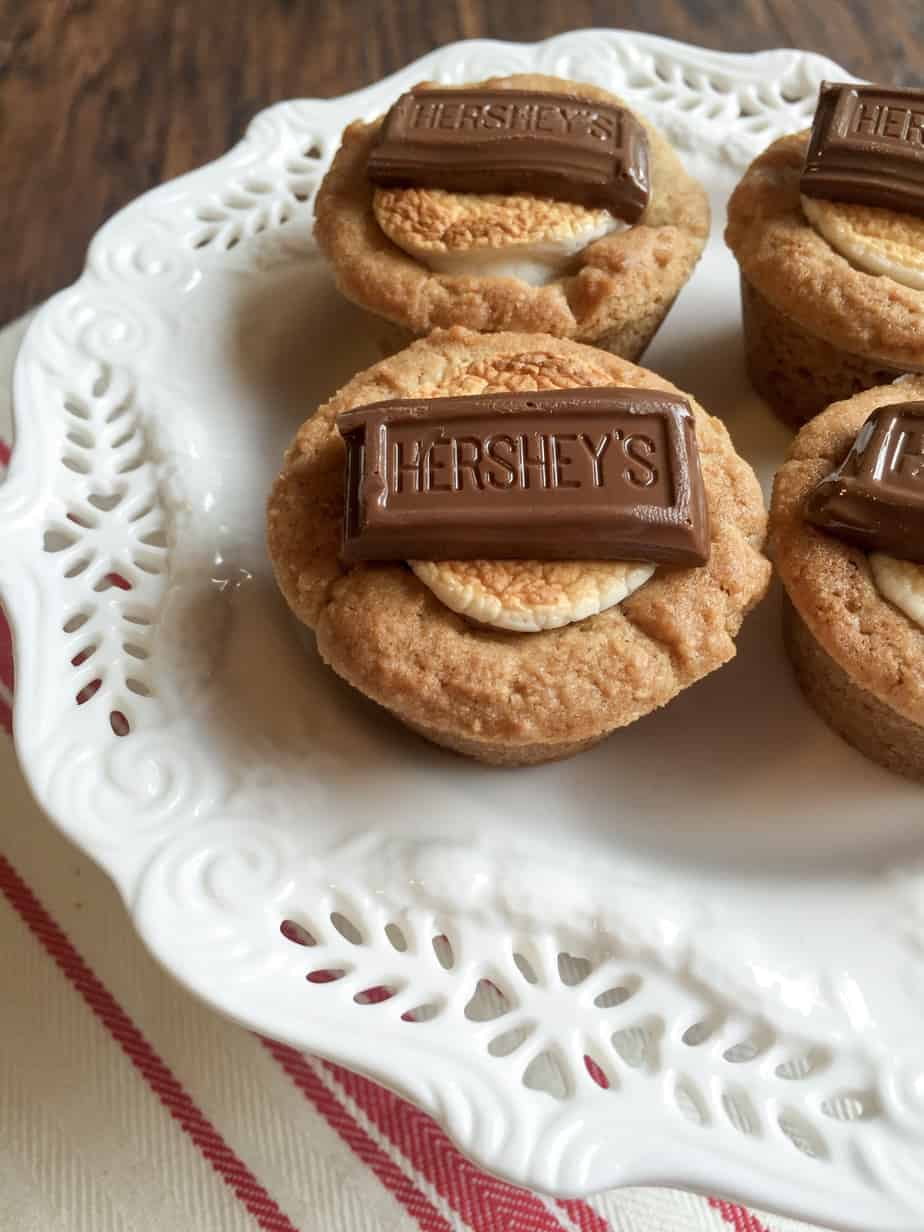
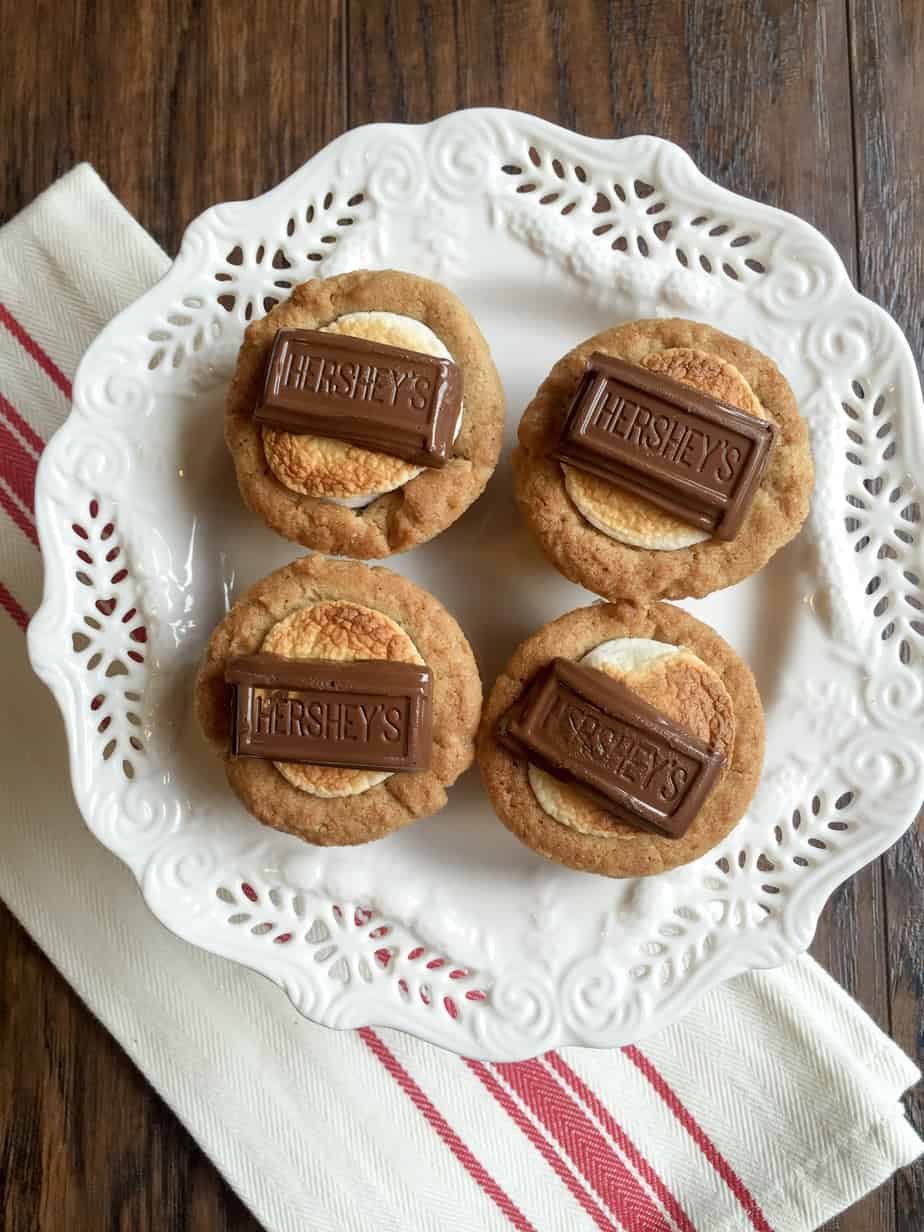
I reduced some of the recipe and created mini s’mores cups instead. These are perfect to eat in one bite (or two if you’re being ladylike!).
They turned out SO amazing.
My husband and I each had 3 in one sitting… and we could’ve kept going!
Tips for the perfect Campfire S’mores Cups:
I made these to take to our small group tonight, and I have to admit…
Even though we each ate 3 at home… we ate a row by ourselves before even getting there. They’re so dang good!
Especially warm right out of the oven.
If you’re taking these to a friend’s house, consider baking the shells and topping with the marshmallows but don’t toast those yet.
Take the cups in the baking pan and pop in their broiler for a couple of minutes.
Then place the chocolate on them at the moment you’re going to serve.
This way you’ll cut the prep time and leave the mess at your house, but you’re able to get that fresh toasty goodness right before you enjoy them!
The chocolate will also be nice and soft for everyone to enjoy.
Another tip regarding graham crackers:
They freeze beautifully!
Sometimes I know I want to make these cups, but I don’t have enough graham cracker crumbs.
Or I want to wait to make them for family when they come into town.
Instead of throwing away stale cookies, I pulse them and place in a Ziploc bag. Then I pop it in the freezer until I’m ready to use.
Reduces waste and we still enjoy delicious s’mores cups!
As for chocolate:
You really can use any kind you’d like! Hershey’s is the s’mores classic, but experiement with your favorites!
A Hershey’s kiss on top is also a really cute addition. Or try some chocolate chips. Or M&M’s.
The yummy possibilities are endless!
One last thing: the marshmallows:
You can definitely use any size. Sometimes I do 3 mini marshmallows, or other times I’ve cut one large in half.
I cut it in half because since they’re mini s’mores cups, if you use the whole thing, the marshmallow will puff up so big, it’ll overtake the cup.
You could also try using marshmallow fluff. It won’t be the same texture, but it’ll be a similar taste.
Watch that carefully because it also burns quickly! I would place a little spoonful in the well and then broil.
If you have a torch, you could also use that. It’ll give you more control on how much you want to toast it.
Whatever you use, I’m sure it’ll be delicious!
These are sooooo incredibly easy to make! I’m sure these would be fun to bake with children as well since they are very hands on! Give it a try and let me know what you think!
If you do make these Campfire S’mores Cups, be sure to use the hashtag #toeatdrinkandbemarried so I can see them!
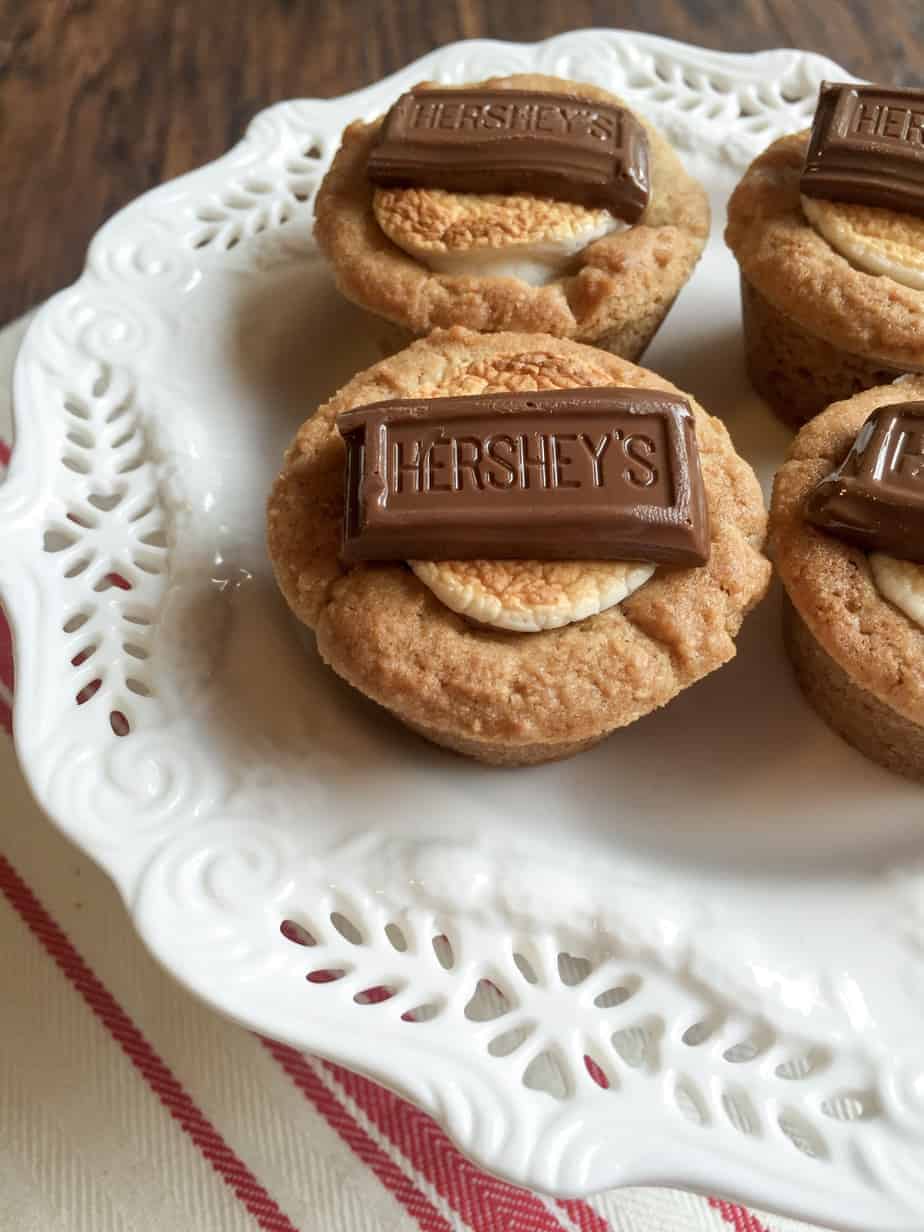
Campfire S'mores Cups
Ingredients
- 1 cup graham cracker crumbs
- 1 1/4 cups all-purpose flour
- 1/2 tsp. baking soda
- 1/2 tsp. salt
- 1/2 cup unsalted butter room temperature
- 1/2 cup light brown sugar
- 1/3 cup granulated sugar
- 1 large egg
- 1 tsp. vanilla extract
- 12 large marshmallows cut in half
- 2 Hershey's chocolate bars 24 pieces of chocolate
Instructions
- Preheat oven to 350 degrees F. In a large bowl, combine graham cracker crumbs, flour, baking soda and salt. Set aside.
- In another bowl, beat the butter and both sugars until creamy. Add the egg and vanilla, mixing until combined. Slowly add the dry ingredients (mixing on low) until just combined.
- Drop by tablespoons of dough into greased mini muffin tin. Press dough down into a muffin tin with a spoon or your thumb creating a well in the center.
- Bake for 6-8 minutes or until edges are becoming golden brown.
- Remove from oven and place marshmallows in each well, sticky part down. Let cool completely.
- Once all cookies are completely cooled, turn on broiler.
- Place cookies back in the oven keeping a close eye on them so they don't burn. 1-2 minutes should be fine until they're nice a toasty. Once marshmallows are golden brown, remove from the oven and place a piece of chocolate on each of them.
- Enjoy!
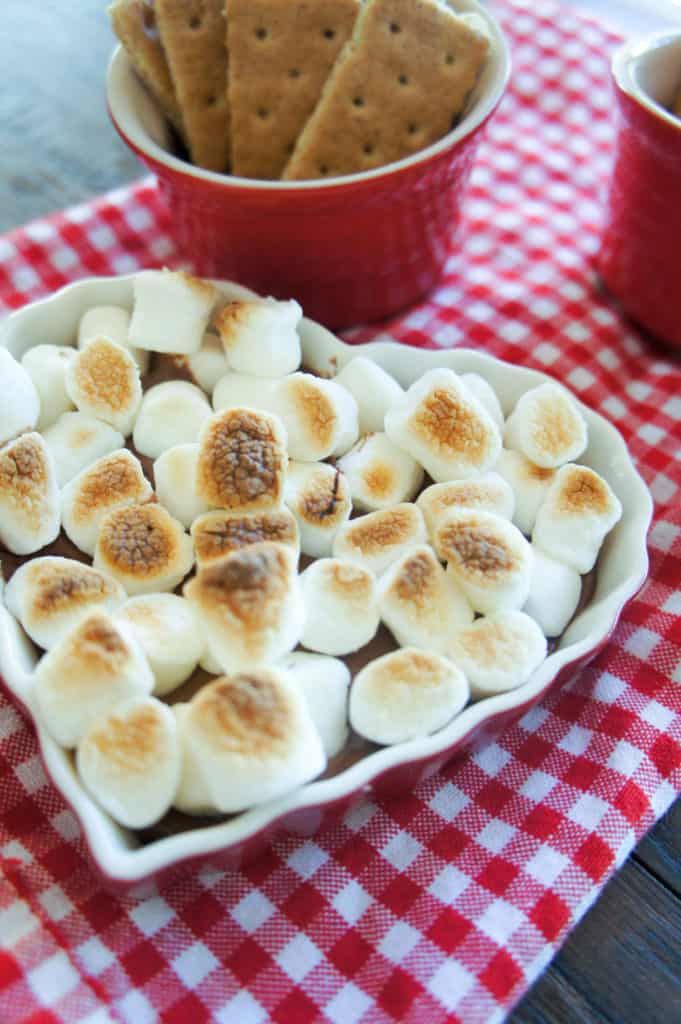
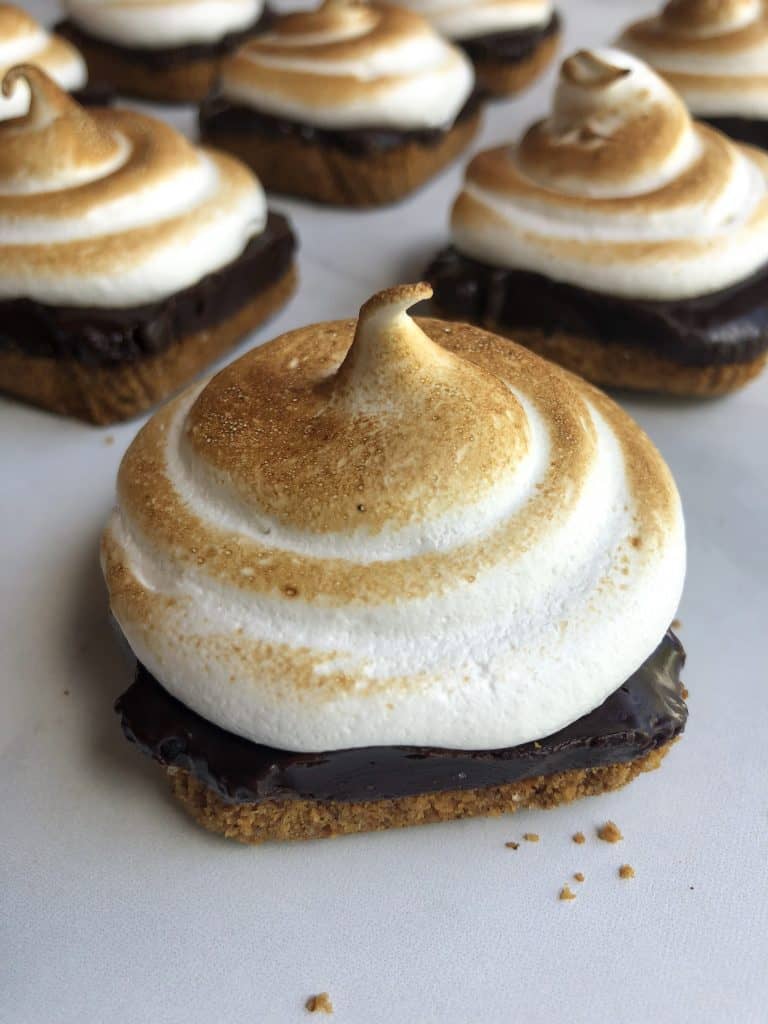
For another delicious s’mores recipe, check these out!

Sophia, these look sooo delicious! Honestly, I feel like every time I come to your blog, I end up hungry. I wish I wasn’t travelling right now or else I’d make these in a heartbeat. I just bookmarked this post (which I don’t do often) so I can recreate these at home! I’m excited for them. Thanks girl!
hahaha, I’m so glad you (hopefully) like these (and that they make you hungry)! ;) Let me know how they turn out! have fuuuun on your travels! Hope you post about it when you get back :)
Oh my my, this looks like heaven ! I’ll try to do this recipe this weekend, will let you know ! Lots of love
Yay! Can’t wait to hear all about it :)
Wow! These look yummy!! Can’t wait to try these! (New Bloggers Support Group, FB) Pinning.